What’s your end game? And no, I’m not talking about superheroes, I’m actually talking about cabinetry!
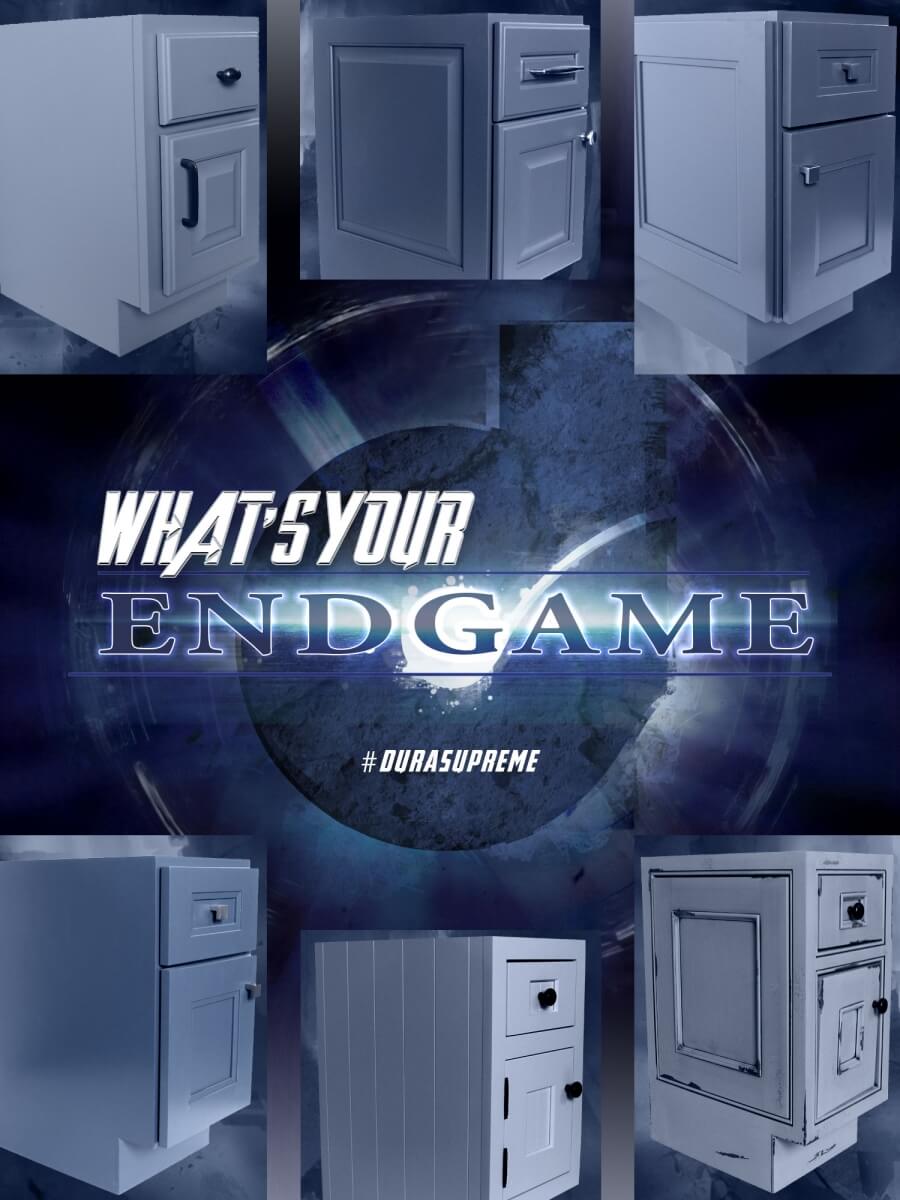
What you decide to do design-wise on the ends of your cabinets can make a statement about your style and do a lot to pull your design together. It may seem like an afterthought to the rookie designer, but a seasoned designer knows that this area, the end of a cabinet, can elevate a design to the next level.
Let’s start off simple, and work towards more involved “end games”:
There are three ways you can finish an end cabinet:
Finished End, not Flush
The simplest, and lowest cost method is a non-flush finished end. This will have a ¼” scribe on the side. Some contractors like having this scribe on the sides of cabinets that will butt up against a wall, as it gives them up to ¼” of wiggle room they can shave off the cabinet if the walls aren’t perfectly square.
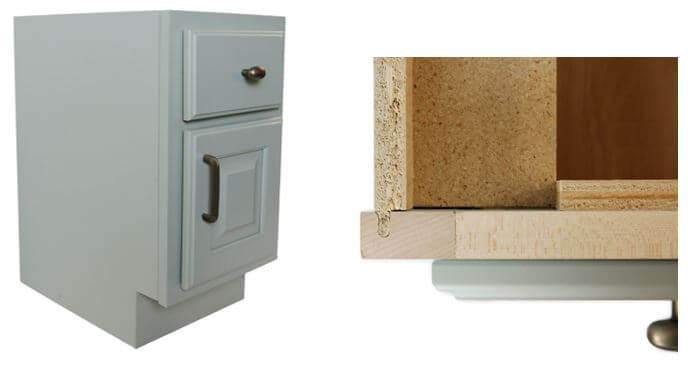
Finished End, not Flush, Cabinet and close-up of joinery, Dura Supreme Cabinetry
Flush Finished End
A Flush finished end has no scribe on the side, as the side of the cabinet is flush with the outside edge of the face frame. The seam where the two pieces meet can be seen on the side of the cabinet.
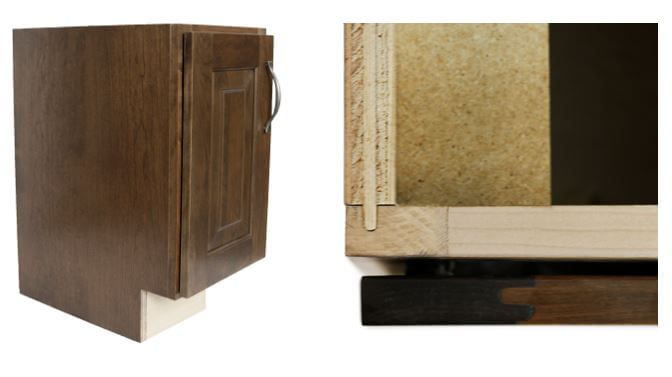
Flush Finished End Cabinet and a close-up of joinery, Dura Supreme Cabinetry
Mitered Finished End
A mitered finished end is just like a flush finished end, except that the seam where the side of the cabinet meets the face frame of the cabinet is located at the corner, so in essence, there is really no visible seam. This is a great solution for corners that stand out from the rest of the cabinetry, or for cabinets that are heavily visible from the side.
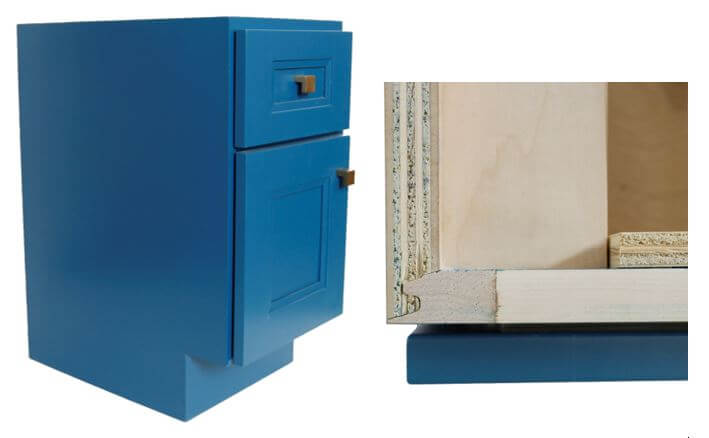
Mitered Finished End Cabinet and Close-up of joinery, Dura Supreme cabinetry
Decorative End
A Decorative End puts a panel mimicking the door style on the side of the cabinet. This will always be made with mortise and tenon construction, so if you have a mitered door style it will be close but not an exact replica of the door.
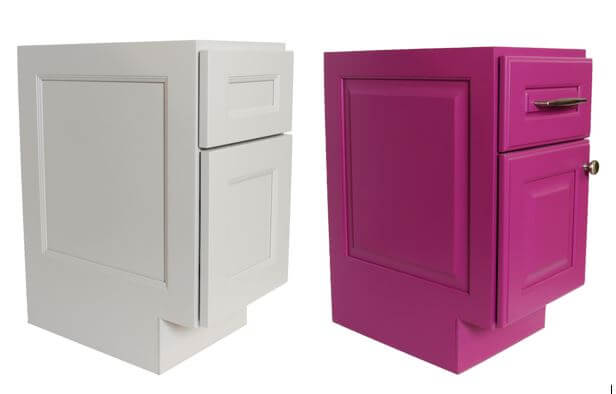
Decorative End, Flat Panel and Raised Panel, Dura Supreme Cabinetry
Fixed Door on End For Full Overlay Cabinets
This end game attaches an actual door to the side of your cabinet but fixes it so that it is purely decorative and not functional. This can take the form of a fixed full height door, or a fixed drawer and door to match the front of the cabinet. On a wall cabinet, you could omit the center panel of the fixed door and insert a chalkboard/whiteboard panel if it is near a drop zone. Here on base cabinets, the toe remains flush on the side of the cabinet.
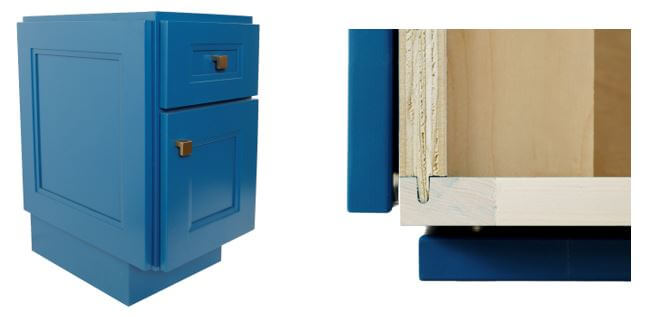
Fixed Door on End plus a close-up of joinery, Dura Supreme Cabinetry
Fixed Door on End For Inset Cabinets
When a Fixed Door is applied to the end of an Inset-styled cabinet, the fixed door matches the door on the front of the cabinet exactly and has a dark panel applied behind it in the inside of the cabinet so that light can not shine through the side. A recessed toe space is standard on the side of a cabinet with this end, however, in these photos, a flush toe was specified.
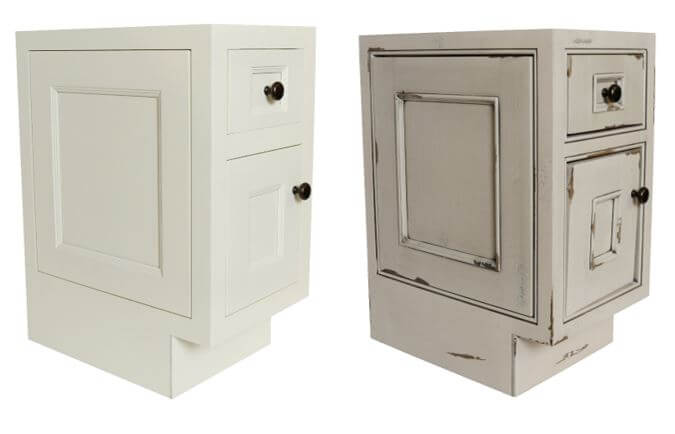
Fixed Door on End Inset, Non-Beaded (left), Beaded (right), Dura Supreme cabinetry
Working Door on End
A Working Door applied to the side of a cabinet looks just like the Fixed Door on End, except that it is operational and has the tiny bumper pads attached. When this is specified, a recessed toe is standard and can be seen here. It can be a good idea to also specify full depth shelves (if it is a base cabinet) in order to fully utilize the cabinet from the sides.
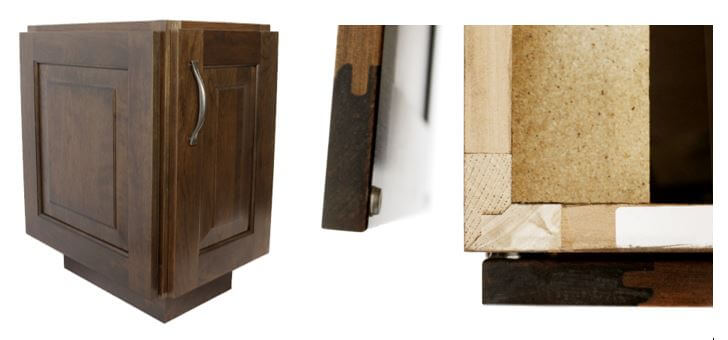
Working Door on End Cabinet and a Close-up of joinery, Dura Supreme cabinetry
V-Groove and Cottage-Beaded Side Options
Dura Supreme also offers a V-Groove and Cottage-Beaded side option for the end of a cabinet. Below is a V-Groove side on a cabinet with the Carson V-Groove door style- what a nice way to carry a style element through the design! We offer both a single and double V-Groove option, giving you creative flexibility on the look you are trying to accomplish.
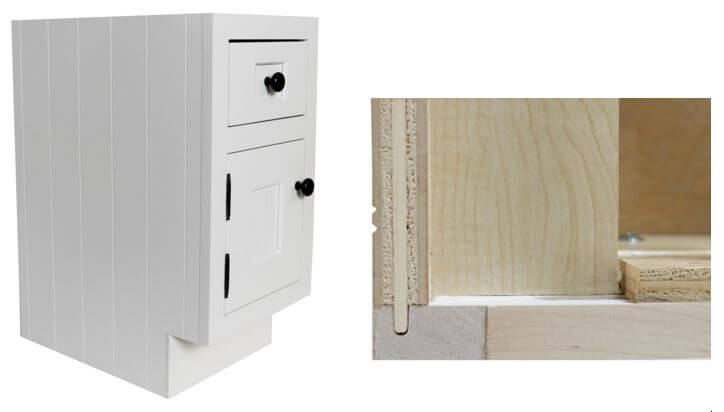
V-Groove End Cabinet and a Close-up of joinery, Dura Supreme cabinetry
Another alternative to all of these end treatments to the cabinet itself is to consider wrapping the corner of an end cabinet with a 2-sided column or ¾ turned post. With Dura Supreme it is easy to specify a wider stile to accommodate this. A lot of these end game decisions will be based on sight lines and what part of the cabinet you can see and from where. If it is the first thing you see when you walk in the front door, then you may want to choose a side modification to make a statement. Bottom line– don’t overlook your end game!

